Problem
You are lazy.
Solution
Templates!
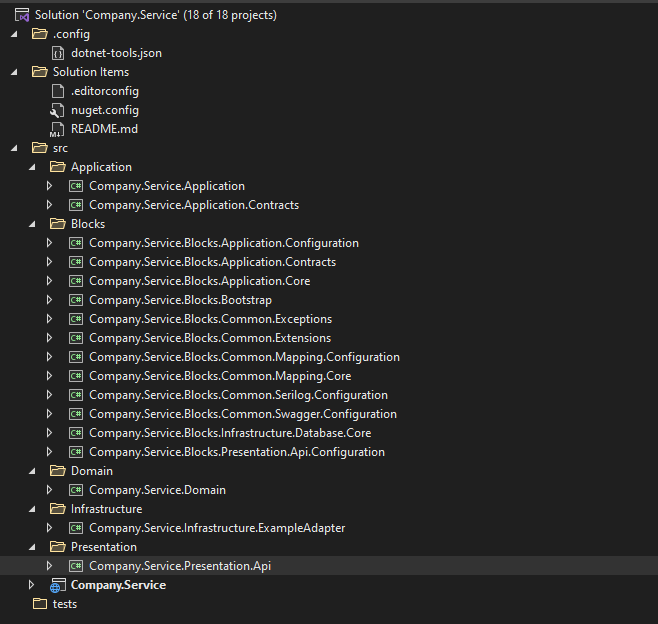
- Let’s start with creating a project structure we are happy with. You can either use your own, or use Company.Service
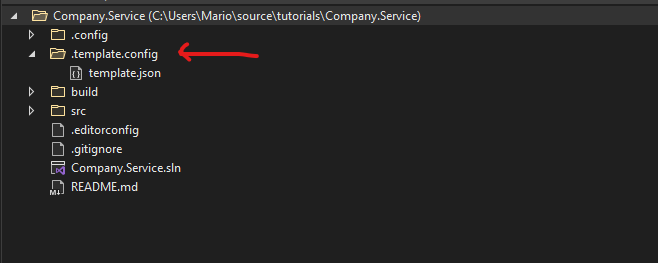
- Add the .template.config folder in the directory where you placed your solution, and inside that folder, add the template.json file. If you cloned repository, it’s already there
- NOTE: You have to use those exact names
- If you switch to folder view in your visual studio, you will see something like this:
- Modify template.json
{
  "$schema": "http://json.schemastore.org/template",
  "author": "Mario Grd",
  "classifications": [ "Web" ],
  "identity": "Company.Service",
  "name": "Company.Service",
  "shortName": "company-service",
  "preferNameDirectory": true,
  "sourceName": "Company.Service",
  "tags": {
    "language": "C#",
    "type": "solution"
  }
}- This is the minimum information required for template.json. More information about json fields.
- The most important parts are:
- shortName -> name we are going to use to generate our projects
- sourceName -> this is what will be replaced in template. For example, if you have Company.Service.sln and when you generate new project named Company.Cars – solution file will be now named Company.Cars.sln. This applies across whole project
- preferNameDirectory -> will create folder for you where solution will be placed
- Open your terminal in a folder where you placed your solution.
- I’m using Powershell inside windows terminal.

- OH MY POSH! It looks sooo nice!
- First, let’s see what templates we have
dotnet new --list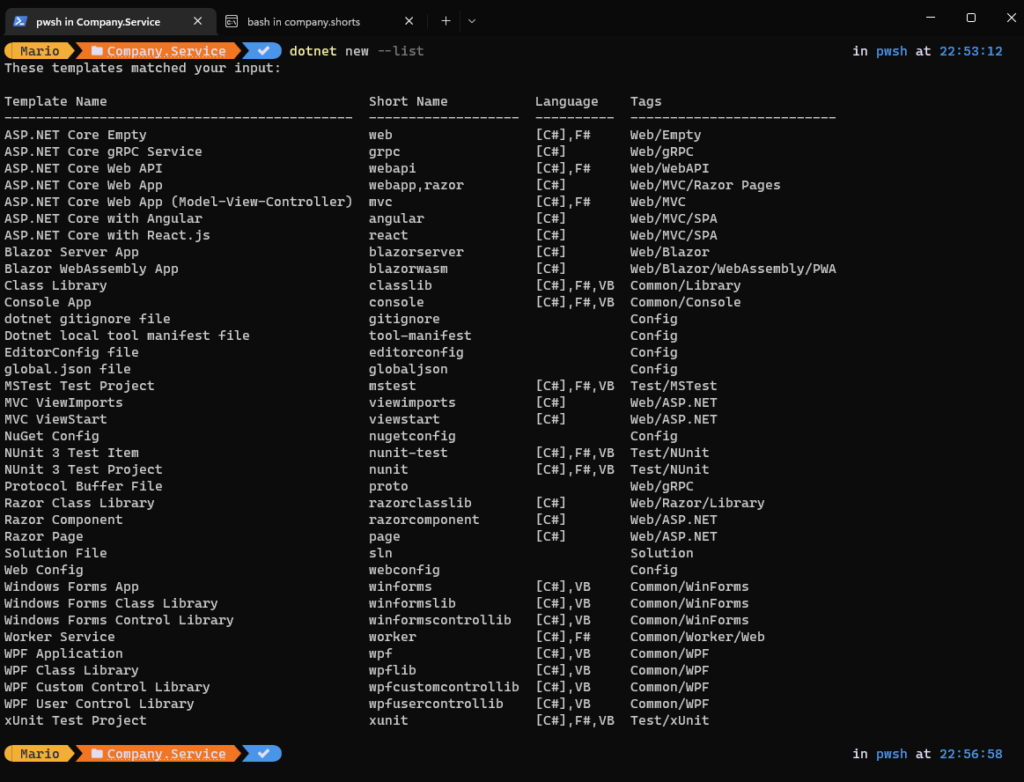
- Now, lets try to install our custom template.
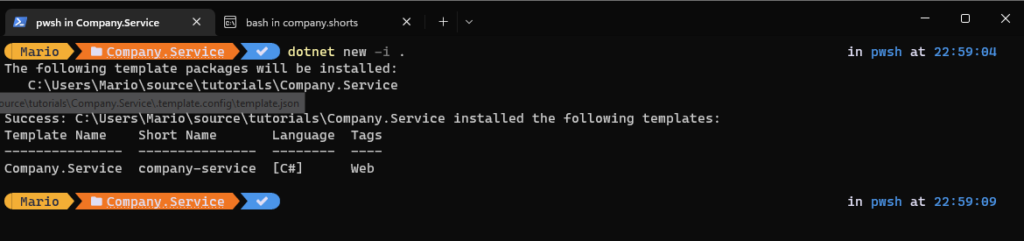
dotnet new -i .- This command will look for the .template.config folder and look for the template.json inside it.
- Don’t forget the dot at the end!
- After running command, you should see something like this
- Now, let’s double check if there is our new template in that list
dotnet new --list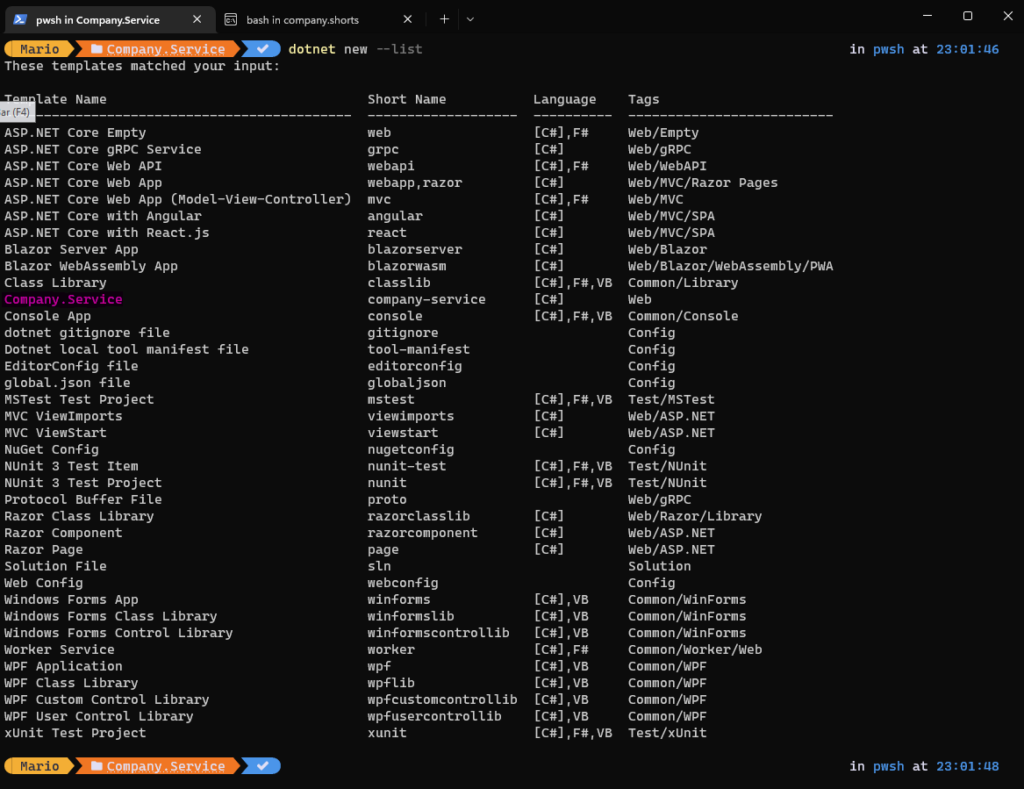
- Alright, it’s here. Now lets try to generate project with name Company.Success
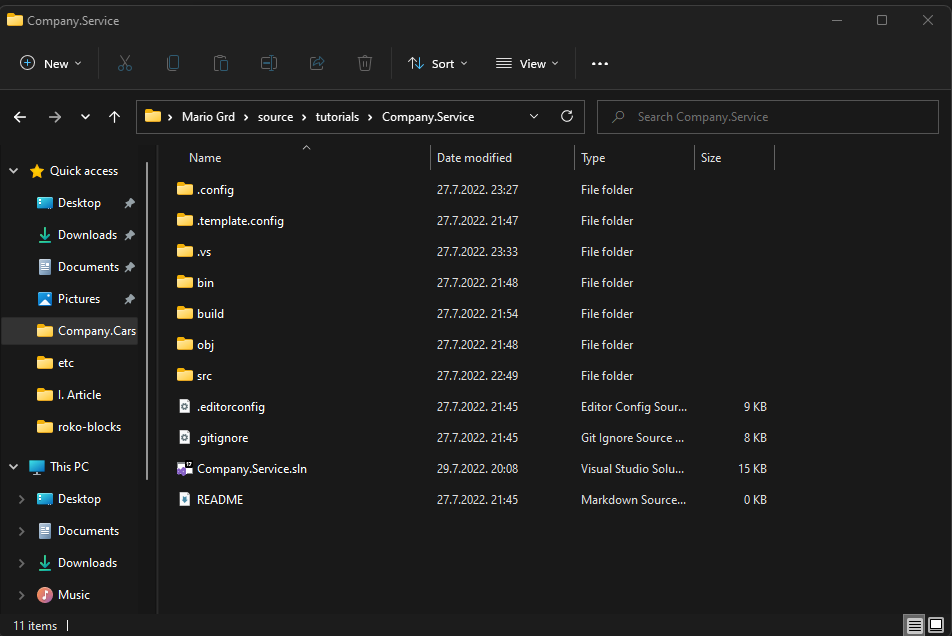
- Move to a folder where you usually keep your projects, for me, it’s:
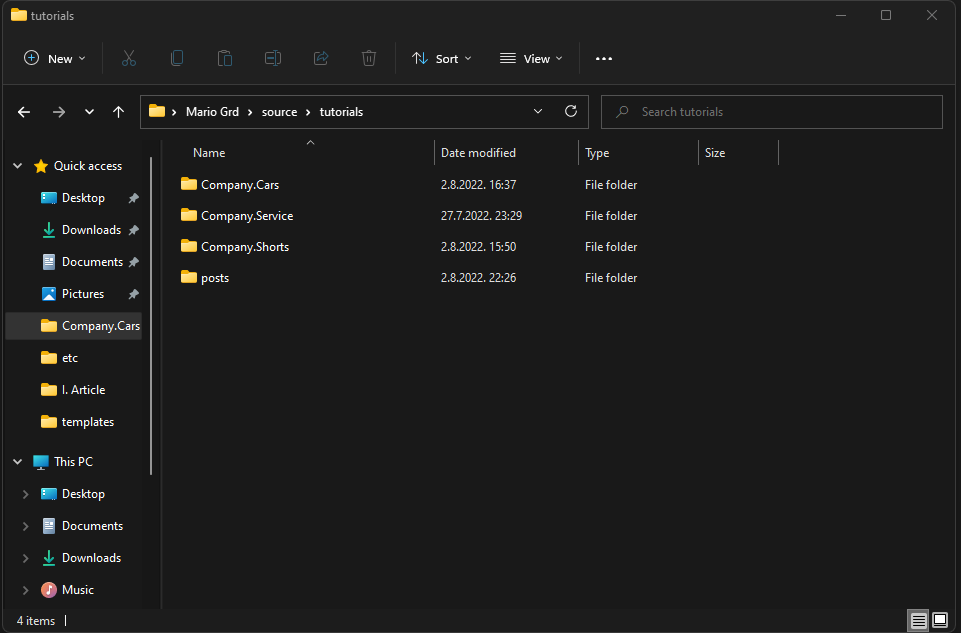
- Open terminal and run:
dotnet new company-service --name Company.Success- Do you remember sourceName from template.json? That value will be used as placeholder that will be replaced with anything that is after the –name parameter (Company.Success)

- Let’s look at our new generated project. Go to Company.Success folder and open it in Visual Studio
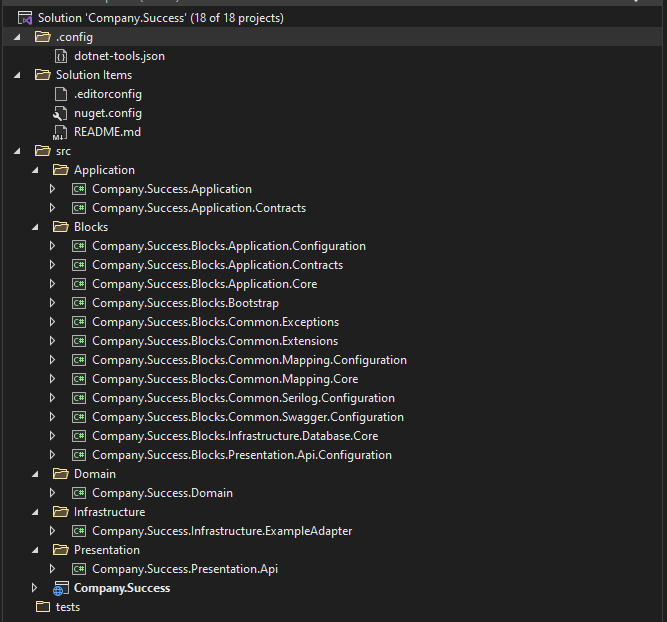
- That’s it. You can now set up Company.Success as your startup project and run it.
Benefits?
- You can remain being lazy.